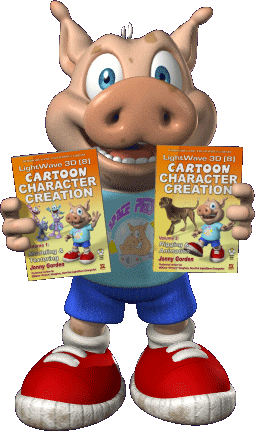
 I wrote a couple of books a few years ago: Cartoon Character Creation – Volumes 1 & 2.
I always planned to post some excerpts here, but never got around to it. Last year, working on Chuggington with the fantastic animators at Motion Magic in China, I realized that while I have changed some of the ways I work since writing the books, the core information and methodologies remain the same, and is still very useful information that many animators aren’t aware of.
Since Chuggington is animated using Maya, and those animators were benefiting from this knowledge, it further impressed upon me how universal the information is. I was always disappointed that the books were tied to LightWave 3D 8 since so much of the information applied to 3D characters and animation in general, regardless of which software was being used. I guess this is also my chance to share that information with a wider audience.
I’m going to jump straight to one of my favorite sections of the books, and one of the most valuable ones, Morphs for Facial Animation.
Note: In LightWave, morph targets are called ‘Endomorphs’, in Maya they’re called ‘Blend Shapes’ and in Blender they’re known as ‘Shape keys’. For simplicity here I’ll just refer to them as ‘Morphs’.
Morphs for Facial Animation
Morphs are the ideal way to create facial expressions for cartoon characters. While using morphs is not the only way to create facial animation, it is the easiest method for both creating and animating facial expressions. You have more flexibility using morphs than other techniques, such as using bones, as you have full control over the position of every point in the model for each morph.
LightWave’s implementation of morphs, called endomorphs, is useful in that it records new point positions for each point included in the morph in a vertex map. This means that all your morphs are held within the model itself instead of having a different model file for each morph as with Maya. Other benefits of endomorphs are that you can adjust point positions in the base model at any time and have those changes automatically propagate through the morphs. You can add or remove geometry and the morphs update appropriately, and you can create multiple characters from a single base character without having to create new morphs for each one, as they just inherit the morphs from the base character (although they will likely need some adjustments).
The drawback to morphs is that they are linear. This means that the points move from A to B in a straight line. While it’s rarely noticeable when the morphs are mixed together and moving fluidly, it can be noticed in certain situations. The eyelids are one of the most common areas you might notice this, which is why for some characters it’s useful to use bones instead of morphs, or a combination of the two, for some things (later in the book I explain some ways to overcome the linear aspect of morphs when it becomes a problem).
The most important resource for creating facial expressions is a mirror. Make sure you have one next to you at all times when creating the morphs. When you start to create a new morph, make the same expression while looking in the mirror to see what your face looks like and how it changes when you move back and forth from a neutral expression to the required expression. By doing this you have a much better idea of what you need to change in your model to create the same expression. Make sure you check your own face fairly regularly during the creation of the morph to make sure you haven’t forgotten anything.


